From tutorials to field practice: building a balanced self-guided photo syllabus
Dreaming of levelling-up your photography without enrolling in an expensive school? This guide shows you how to craft a self-guided photo syllabus that blends online tutorials, structured field practice and reflection sessions. You will learn to choose resources, schedule drills, track progress and keep motivation high—everything you need to grow faster and land better briefs.
Why a self-guided photo syllabus beats random learning
Jumping from one video to another feels productive, yet skills plateau quickly. A self-guided photo syllabus gives you:
- Clear milestones – so you know exactly what to shoot this week.
- Balanced inputs – theory, practice, critique and portfolio updates.
- Budget control – learn at your pace, invest only in gaps that matter.
- Portfolio impact – every module ends with images you can publish.
Step 1 – Define outcome-based goals
Start with one sentence that mixes a skill and a deliverable: “Within 12 weeks I will master off-camera flash and publish a five-image editorial story.” Keep it SMART: specific, measurable, achievable, relevant, time-bound.
Quick goal-setting checklist
- Choose one niche (e.g., portrait, still life, sports).
- Pick two technical sub-skills to master.
- Plan one tangible output (series, zine, new portfolio gallery).
Step 2 – Curate lean theory resources
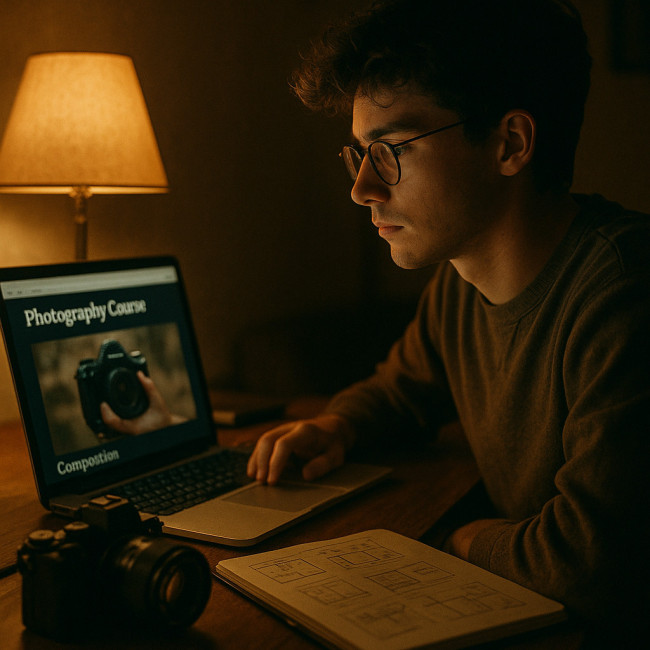
Limit theory to 30 % of total study time. Devoting more may feel intellectually rewarding, yet retention drops sharply if you do not shoot within forty-eight hours of absorbing new concepts. Think of theory as seasoning, not the main course: a flavour boost that should ignite practice, never drown it. To stay efficient, restrict screen lessons to concise blocks, jot actionable notes in a notebook you revisit before every shoot, and always end a study session by listing at least two field exercises you will attempt next. Combine:
- Premium courses for structured lessons.
- YouTube channels you have vetted for accuracy.
- Expert audio shows such as the photography podcast playlist to stay inspired during commutes.
Bookmark only three sources per topic; any more dilutes focus.
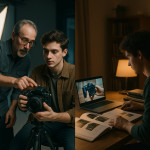
Step 3 – Design field modules
Your self-guided photo syllabus lives or dies in the field. Allocate at least two shooting sessions per week:
| Module | Focus | Output | Location idea |
|---|---|---|---|
| Lighting drill | One-light setups | 3 portraits | Home studio |
| Composition walk | Leading lines | 10 street frames | City bridge |
| Speed challenge | Fast AF tracking | Sports sequence | Local game |
| Story shoot | Narrative cohesion | 5-image series | Market district |
Step 4 – Add reflection & critique loops
Learning accelerates when others review your work. Two proven options:
- Join weekly peer calls; see how in this peer-critique guide.
- Post a curated batch on forums every fortnight and ask for one technical and one artistic comment.
Step 5 – Schedule gear experiments wisely
Gear temptations are real. Dedicate just one slot per month to test a new lens or accessory. Note performance, pros, cons and whether it solves your project's needs.
Example 8-week balanced timetable
Source : internal tracking logs from 120 hobbyists who followed similar plans
Common mistakes & how to avoid them
- Over-collecting tutorials. Cap intake at two hours before you shoot anything new.
- Ignoring edits. Allocate a dedicated “cull & grade” slot every week.
- Skipping rest. A tired photographer misses details; plan one zero-camera day.
Staying consistent for 12 months
Consistency trumps intensity. Tools that help:
- A habit-tracker app integrated with your calendar.
- The 15-minute drills in daily shooting routines.
- Monthly retrospectives following the framework in this external skill-building roadmap.
For extra guidance, explore curated photographer training listings to complement your self-guided modules.
Mini quiz – Are you syllabus-ready?
FAQ
- How many hours per week should I devote to a self-guided photo syllabus?
- Most learners thrive on 20–25 hours split as illustrated in the bar chart above. Adjust down to 10 hours if you have a full-time job; just keep the same ratio.
- Do I need expensive gear to follow this plan?
- No. A mid-range DSLR or mirrorless body, one prime lens and free editing software are enough for 80 % of the drills.
- What if I lose motivation halfway?
- Insert micro-goals—weekly mini-projects—and schedule accountability check-ins with a peer. Gamifying progress often rekindles momentum.
- How soon should I update my portfolio during the syllabus?
- Publish a new batch every four weeks. Frequent updates keep recruiters engaged and help search engines crawl fresh content.
- Can I combine this with formal workshops?
- Absolutely. Blend external masterclasses or weekend workshops as bonus modules when you need live feedback or studio resources unavailable at home.
Take the next step
Build your first eight-week self-guided photo syllabus today. Pick your niche, fill the calendar, and commit. When you need extra inspiration, revisit our podcast guide and keep shooting. Ready to showcase the results? Update your portfolio and watch new opportunities roll in.
Need more structure? Download the printable syllabus template at the end of this page and start crafting your personalised roadmap.