Digital artist texture clinics: from flat pixels to tactile illusions
Struggling with muddy normals, plastic-looking metals or fabric that feels like cardboard? This guide walks you through a “texture clinic” workflow that turns any bland surface into a convincing tactile illusion—fast. You'll discover the science behind believable materials, actionable check-ups to run on every file, and portfolio tips that make recruiters feel the texture before they hire you.
Why mastering texture is now mission-critical
The streaming boom, real-time engines and AR commerce all hinge on hyper-real surface detail. A 2023 Unity report found that environments using high-fidelity textures increased user dwell time by 34 %. Studios, brands and museums therefore budget texture specialists earlier in the pipeline. Sharpening this niche skill raises your day rate and positions you as the problem-solver who keeps costly revisions away.
The anatomy of a believable digital texture
1. Resolution & texel density
Keep pixels per metre consistent. A hero prop may run 1024 px/10 cm, while background assets dip to 256 px/10 cm. Mismatched density is the first red flag clients notice during reviews.
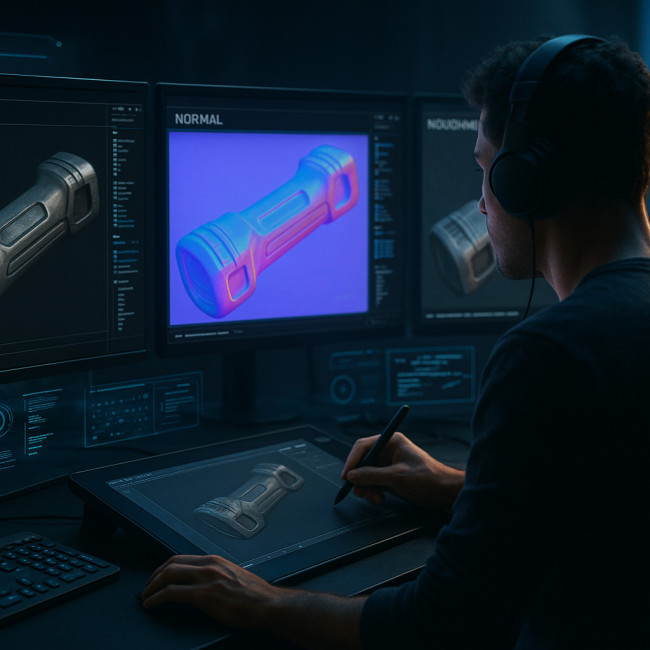
2. Physically Based Rendering (PBR) maps
- Albedo: colour without lighting cues. Watch for colour space errors (sRGB vs linear).
- Normal: surface relief. Flip channels if highlights look inverted.
- Roughness/Gloss: micro-surface scatter. Black = mirror; white = chalk.
- Metalness: binary mask. Mid-grey metals are a myth—use 0 or 1.
3. Procedural meets hand-painted
Procedural nodes in Substance 3D give infinite variability. Hand-painting overlays add character. Blending both prevents the sterile “CGI sheen” recruiters often flag.
Run your own “texture clinic” in six steps
- Diagnosis – Open the material in a neutral HDRI scene. Note light leaks, tiling and colour shifts.
- Resolution scan – Check texel density overlay in your DCC. Uniform orange = healthy.
- Map isolation – View each channel solo. This exposes compression artefacts and banding instantly.
- Edge wear audit – Real objects wear on corners first. Add curvature masks for believable erosion.
- Scale reference – Place a 1 m cube beside the asset. If pores look too large, rescale noise or change UVs.
- Lighting stress test – Rotate a high-contrast studio HDRI 360°. Specular streaks reveal normal map errors.
Step-by-step: upgrading a flat metal panel
The workflow below condenses two hours of clinic time into 15 minutes.
| Minute | Action | Tool | Outcome |
|---|---|---|---|
| 0-3 | Re-bake normals at 8× AA | Marmoset Toolbag | Sharper bevel highlights |
| 4-7 | Add dirt generator on AO | Substance Painter | Crevices gain depth |
| 8-10 | Blend brushed anisotropy | Photoshop polar distort | Directional sheen |
| 11-13 | Inject colour variation | Gradient map | Removes CG uniformity |
| 14-15 | Final gloss pass | Paint roughness mask | Realistic fingerprint zones |
Common texture ailments and quick cures
| Symptom | Probable cause | Clinic remedy |
|---|---|---|
| “Clay” skin in characters | Over-blurred normal map | Bake at twice the mesh density, then sharpen high-frequency details only. |
| Tile seams visible | Offset filter disabled | Use offset preview at 50 % and clone-stamp edges before export. |
| Plastic metals | Low contrast roughness | Clamp histogram; push values to 0.1–0.3 for scratches, 0.6–0.8 for oxidised zones. |
| “Salt & pepper” noise | JPEG compression | Switch to PNG or TGA and set engine compression to BC7. |
Show, don't tell: presenting textures in your portfolio
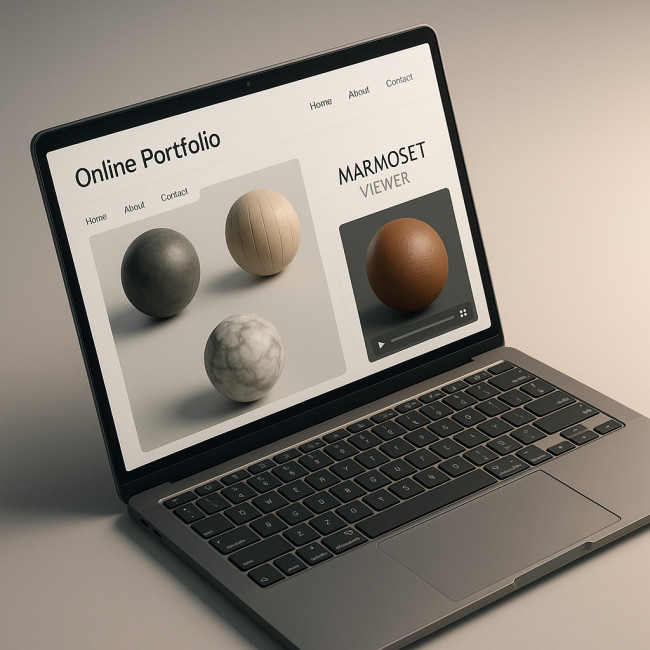
A recruiter has five seconds to judge you. Replace static screenshots with Marmoset Viewer embeds or Sketchfab if file size allows. For step-by-step guidance on layout and loading speed, see our article on refresh your online portfolio.
Demonstrate scale by spinning a 4 K material ball beside the final prop. Use multi-angle GIFs capped at 6 MB each to keep Core Web Vitals scores green. Need inspiration? Explore the training hub at Artfolio's image-designer resources for benchmark showcases.
Beyond materials: lighting and post-FX that amplify surface detail
- Three-point probe: key, fill, rim lights with 5600 K temperature highlight micro-scratches.
- Edge bloom: subtle glow accentuates metallic edges without fake shine.
- ACES tone mapping: preserves mid-tone roughness data when exporting to sRGB.
Collaboration tactics for large-scale projects
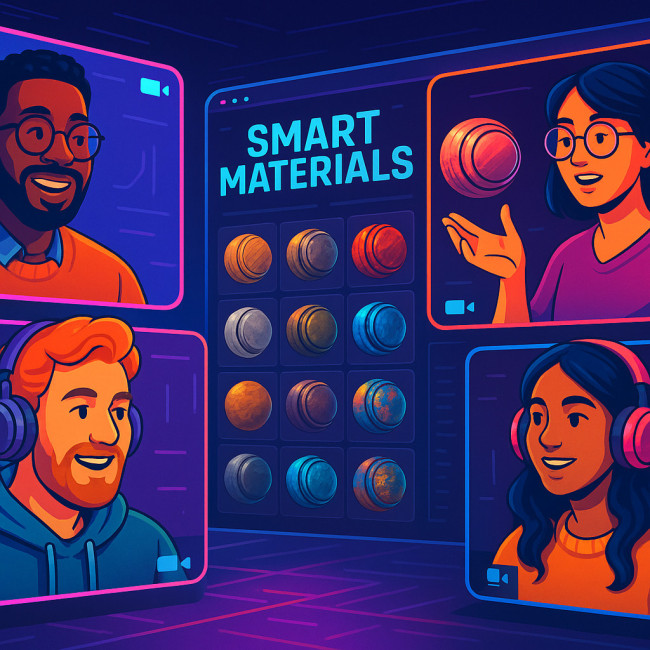
Join discipline-specific meetups to swap smart materials and feedback. Our guide on digital artist meetups lists virtual rooms where studios hunt for texture experts. When dealing with fabrics or organic surfaces, photographers are your friends—learn camera setup tips in making textures read on screen.
Workflow checklist for a studio “texture clinic” session
- Create a Jira ticket with asset IDs and texture goals.
- Run automated map validation (naming, channels, bit-depth).
- Perform the six-step clinic outlined earlier.
- Export maps to a shared Digital Asset Vault for version control.
- Document before/after screenshots for client education.
Mini-quiz: test your texture IQ
FAQ
- How often should I run a full texture clinic on an asset library?
- Plan a quarterly audit. Game engines, compression formats and display hardware evolve rapidly; a seasonal check ensures compatibility and quality.
- Which file format preserves normal maps best?
- Use 16-bit PNG during authoring and export BC7 or ASTC compressed textures for final builds. They keep normal fidelity while reducing size.
- Can AI really generate production-ready textures?
- Generative models are great for concept iterations but still require manual PBR cleanup. For risk management read our due-diligence guide in AI texture checks.
- What hardware accelerates baking and previews?
- A GPU with ≥8 GB VRAM, NVMe storage and a colour-calibrated monitor form the minimum kit for seamless clinic sessions.
- How do I price “texture clinic” services?
- Average freelance rates range from €45–€80/hour, rising to €120 for photoreal hero assets. Bundle fixes per asset for predictable invoices.
Takeaway & next action
You now have a field-tested process to diagnose, treat and showcase textures that pop off the screen. Run a clinic on one legacy asset tonight, document the transformation, and add the comparison to a photorealistic mock-up. Recruiters love evidence-based upgrades—give them a reason to add you to their shortlist.