Lighting hacks to photograph coiffeur creations with a smartphone
Want every braid, balayage and bold cut to sparkle online? This guide reveals actionable lighting hacks so you can photograph coiffeur creations with a smartphone and still achieve studio-worthy results. You will learn how to tame harsh salon neons, build flattering light with everyday objects, and edit fast for scroll-stopping shine.
Why smartphone photos matter for modern hair artists
Most clients discover stylists through social feeds and new hair stylist portfolios. A striking gallery fuels bookings, collaborations and brand deals. Yet many talented coiffeurs lose visibility because poorly lit images flatten colour dimension and texture. Mastering light ensures every hairstyle pops, even on a phone screen.
Light 101: what your camera phone really captures
Natural light versus artificial sources
Phone sensors crave balanced, directional light. Window light (north-facing if possible) offers a large, soft source that wraps strands and reveals true tones. Overhead salon tubes cast unflattering shadows and colour shifts. Understanding this difference is the first step to photograph coiffeur creations like a pro.
- colour temperature: daylight ≈ 5500 K, salon LEDs vary between 3000 K and 6000 K.
- intensity: brighter light lets you keep ISO low, reducing grain.
- direction: side light sculpts volume, overhead light flattens it.
Five budget-friendly lighting hacks to photograph coiffeur creations
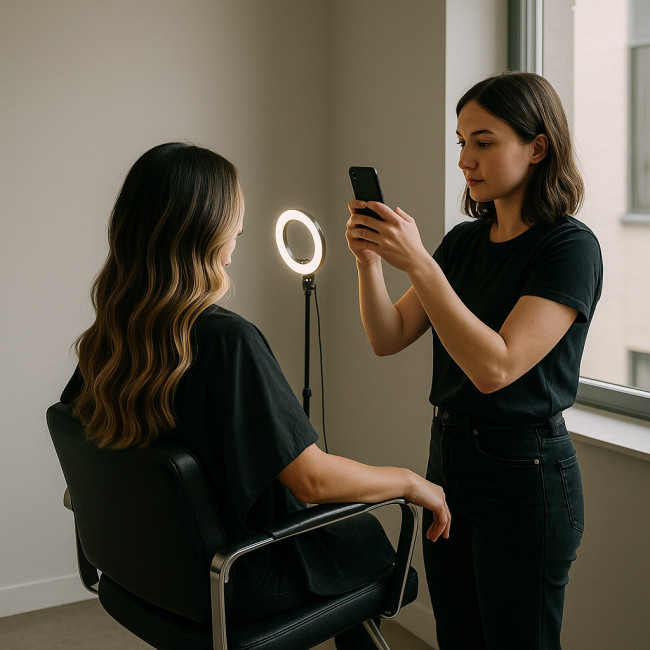
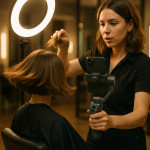
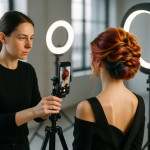
This illustrative scene encapsulates the essence of the upcoming five hacks: free daylight, strategic chair rotation, budget ring lights, improvised reflectors and controlled backgrounds. Study how the window acts as a giant softbox while the small USB ring adds catch-lights. Notice also the stylist's stance—elbows close, phone level with the brightest highlight—to avoid distortion. The folded white towel on the opposite side bounces fill so shadows never turn muddy. By visualising these elements together before diving into the numbered list, you will recognise them instantly inside your own workspace and deploy each tip faster. Memorise the arrangement now; repetition speeds field execution when a colour service finishes and time is scarce.
- Turn the chair 45° toward a window. This hack turns free daylight into a giant softbox. Rotate the client until light grazes across the hair, then tap to expose on the brightest highlight.
- Use a cheap clip-on ring light. A 10 inch USB ring costs under €30 and adds catchlights that make colour melts shimmer. Position it just above eye level to avoid forehead glare.
- Bounce with a white towel. No reflector? Drape a clean towel over your arm opposite the light source. It lifts shadows under curls and reprises the bounce card technique noted in our object-design lighting guide.
- Switch off salon neons. Mixed lighting confuses the sensor. Kill ceiling lamps during the shot and rely on window plus ring light. Consistent colour temperature means less editing.
- Back-light for halo effects. Place the ring light behind the subject and expose for the mid-tones. The glow outlines layers and creates editorial drama similar to tricks in our photo-shoot essentials tutorial.
Quick comparison: window vs ring vs overhead
| Light source | Colour accuracy | Shadow softness | Setup time |
|---|---|---|---|
| North-facing window | ★★★★★ | Soft | 1 min (turn chair) |
| USB ring light | ★★★★☆ | Adjustable | 3 min (clip & power) |
| Salon overhead tubes | ★☆☆☆☆ | Harsh | 0 min (already on) |
Exposure, focus & colour: smartphone settings you must tweak
- Lock exposure and focus. On iOS and Android, press-hold the screen until AE/AF lock appears. This prevents the phone from brightening mid-shot.
- Lower exposure slider slightly. Under-exposing by –0.3 EV keeps platinum highlights from blowing out.
- Shoot in RAW or HEIF. More data equals more flexibility when you edit shine and shadows later.
- Disable automatic filters. Let light work first; add style in post.
Editing workflow for luminous results
- White-balance first. Align temperature to neutral whites; apps like Snapseed and Lightroom Mobile do this in one tap.
- Raise whites, lower highlights. This combo brightens the image without frying delicate blonde tones.
- Add selective clarity. Brush clarity just on braid edges to emphasise structure.
- Export at 2048 px on the long side. Keeps detail while satisfying most social platforms' compression.
Lighting data: why these hacks work
Source: Illuminating Engineering Society
Field checklist before you hit record
- Clean lens with microfiber cloth.
- Switch phone to airplane mode to avoid vibration blur.
- Use a tripod or rest elbows on the back of the styling chair.
- Keep background tidy; a plain cape or wall lets colour stand out.
- Snap at least five angles: profile, back, front, texture close-up and movement gif.
Boost reach with continuous learning
Improving your lighting fluency pays off in every visual discipline. See how creators of physical pieces refine photo workflows in this ceramic photography guide or learn pacing tricks that retain viewer attention from our product hero-shot blueprint. Applying adjacent insights keeps your portfolio ahead of trend curves.
Lighting knowledge quiz
FAQ
- Can I photograph coiffeur creations at night without expensive gear?
- Yes. Combine a mid-sized ring light with a folded white reflector (foam board works) and switch your phone to manual mode to reduce ISO.
- Why do my blonde tones look yellow?
- Mixed light sources shift colour. Turn off warm overhead bulbs and set white balance to 5500 K before shooting.
- Is HDR helpful for hair photography?
- Occasionally. HDR may merge multiple exposures, but if the subject moves, strands blur. Use it only when the client can stay still.
- How close should the ring light be?
- About 50 cm from hair and slightly above eye level. Closer increases catchlights; too close flattens texture.
- What file format is best for social media uploads?
- JPEG at 80 % quality and 2048 px wide balances sharpness with quick loading.
Take action now
Block 30 minutes after your next colour service. Apply one lighting hack, snap five angles and update your gallery. Consistency expands reach faster than waiting for a pro shoot. Your future clients are scrolling—make every scroll count.