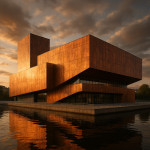
Turning floor plans into visual stories: a guide for architecture photographers
A floor plan is more than a technical drawing; it is a ready-made storyboard. In this guide, you will learn how to translate those black-and-white lines into immersive visual stories that win awards, thrill clients and stand out in any architecture photographer directory. From pre-production to post, each step puts the floor plan at the centre of your creative process.
The narrative power of a floor plan
A floor plan lays out the relationships between rooms, flows of movement and the hierarchy of spaces. By reading it like a script, you can decide which axes, vantage points and sequences will best highlight the architect's intent and the user experience.
Spatial hierarchy: reveal the protagonist
Every building has a “main character” space—a lobby, atrium or living area. Identify it on the plan, then design a shot list that introduces supporting spaces before unveiling your hero scene. This mirrors classic three-act storytelling and keeps viewers engaged.
Circulation paths: build momentum
Corridors, staircases and sight-lines are your transition shots. Photograph them to create visual rhythm, guiding the audience just as the plan guides occupants.
Scale indicators: ground the story in reality
Floor plans include dimensions; translate these into imagery by adding human figures, furniture or light scales so the audience intuitively grasps proportions.
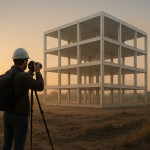
Pre-production: turning lines into a live storyboard
1. Decode the architect's vision
Schedule a briefing with the designer and annotate the plan together. Ask which spaces solve the client's core problems—those become narrative milestones.
2. Overlay emotional beats
Assign adjectives to each zone—serene bedroom, dynamic stair, social kitchen—and match camera height, lens choice and lighting style to those moods.
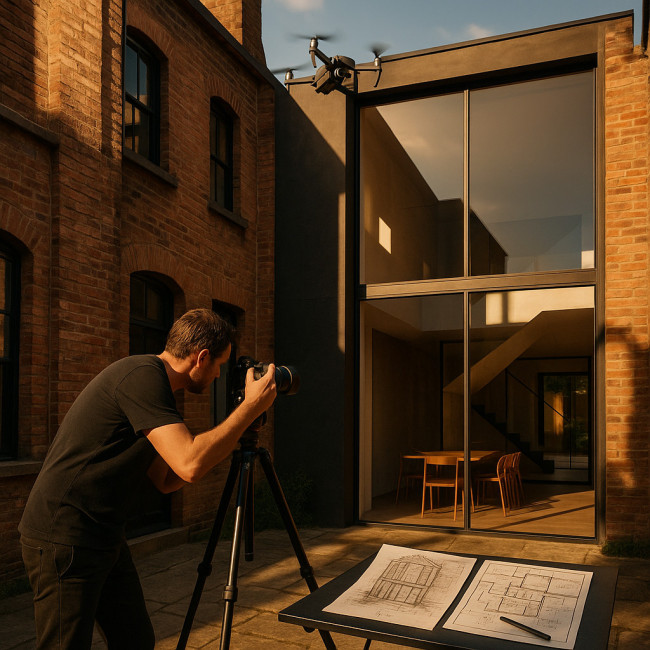
3. Scout smarter, not longer
Use the plan to plan your feet. Mark potential tripod spots and sun paths before arriving on site. For extra efficiency, review our detailed checklist in secure permits and scout optimal angles.
4. Permit planning
Floor plans expose security zones and private areas. Flag them early to avoid last-minute access issues—one of the top delays noted in our architecture photographer hiring checklist.
Shoot day: techniques that make a plan breathe
Perspective matching
Place the plan on a tablet, enable the grid overlay on your live view and align verticals. This ensures the final image matches the architect's orthogonality without endless post-corrections.
Light mapping
Cross-reference the floor plan with sun-path data to predict light quality in each room. Golden-hour glow in the living space? Noon punch in the stairwell? Time your schedule accordingly or review natural light mastery for architecture shoots.
Layered storytelling with drones
Drone flyovers show how the building footprint sits within its context—information you first saw on the plan. Capture a slow reveal that starts with the neighbourhood grid, then descends toward entry points. For workflow tips, see drone workflows for property marketing.
Human-scale cues
Add a solitary figure walking along the circulation path: one frame can turn abstract geometry into a lived-in story without overwhelming the architecture.
Editing: reinforce the narrative arc
Colour harmony
Use the plan's material legend—wood, concrete, glass—to guide colour grading. Keep hues consistent across the sequence so viewers feel continuity while moving through the images.
Directional flow in sequencing
Arrange photos left-to-right or top-to-bottom following the circulation arrows from the floor plan. The result is a contact sheet that reads like a graphic novel.
Technical polish
Straighten verticals, balance exposures and remove distractions. A disciplined post workflow is outlined step by step in architecture photo post-production essentials.
Deliverables clients actually use
| Deliverable | Purpose | Best suited for |
|---|---|---|
| Hero stills | Showcase signature spaces | Press releases, awards |
| Sequential set | Walk-through of spatial experience | Project webpages |
| Annotated plan overlay | Match photos to floor plan | Investor decks |
| 360° panoramas | Interactive exploration | Virtual tours |
| Drone clip | Contextual narrative | Marketing videos |
Common pitfalls and quick fixes
- Ignoring plan scale: leads to cramped compositions. Solution: mark focal length suggestions on the plan.
- Shooting rooms in isolation: breaks narrative flow. Solution: include transition shots.
- Relying on HDR for dynamic range: can flatten mood. Solution: schedule for optimal natural light or use subtle bracketing.
- Post-production drift: inconsistent colour casts disrupt story. Solution: create scene-based presets.
Mini case study: townhouse reborn
A heritage townhouse renovation called for visual storytelling that contrasted old and new. Starting with the architect's layered floor plan, we mapped a sequence that began in the restored vestibule, progressed through modern open-plan zones and culminated on a roof terrace. The drone footage mirrored the plan's stacked massing, descending floor by floor. The result: a 20-image narrative that secured front-page coverage and three new client inquiries within a week.
FAQ
- How many images should I deliver for a mid-size project?
- Between 15 and 25 carefully sequenced visuals usually cover hero spaces, transitions and context without overwhelming the client.
- Does every photo need a matching floor-plan overlay?
- No. Provide overlays only for key orientation shots. Too many overlays distract from the emotional flow.
- What file formats work best for plan-photo hybrids?
- Layered TIFF or PSD files allow architects to toggle the plan alpha channel on and off during presentations.
- Can I shoot without physical access if I have the plan?
- Remote shooting is possible with 360° robots or local assistants, but artistic control is limited. On-site presence remains the best way to translate the plan's nuances into compelling imagery.
Quick self-test: are you ready to visualise a floor plan?
Next step: put the plan in your hands
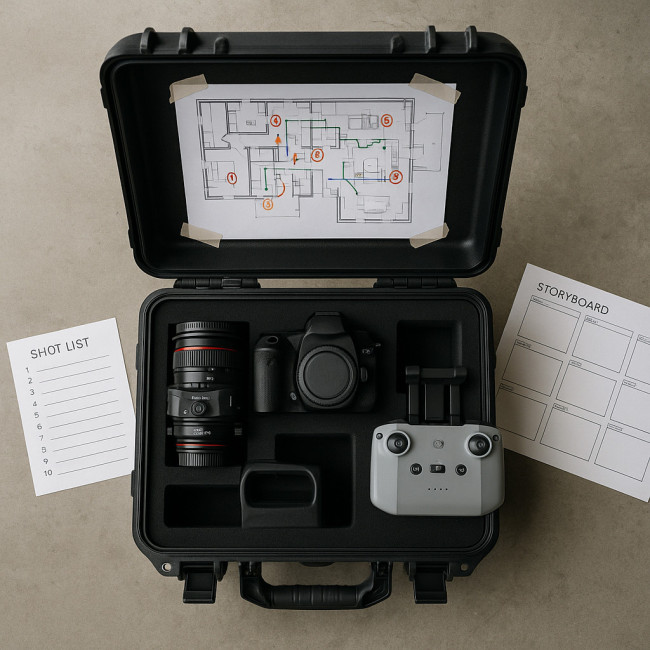
You now have a repeatable framework to turn any floor plan into a compelling visual story. Print this guide, tape it to your gear case and start mapping your next shoot today. Ready to elevate your portfolio? Book a consultation or download our free storyboard template and transform your next project into an unforgettable narrative.