Tattoo artist needle skill circuits: improve line weight and healing time
Want razor-clean lines that heal fast and stay bold for years? Build a daily routine of needle skill circuits. These short, focused drills train muscle memory, pressure control and speed—three pillars that directly affect line weight and client healing time.
Why needle skill circuits are a game-changer
The tattoo machine is only as precise as the artist's hand. Yet many professionals still rely on sporadic practice instead of structured needle skill circuits. A circuit is a set of timed drills that target one micro-skill at a time—just like athletes isolate muscles in the gym. Consistency transforms shaky strokes into confident passes, reduces over-working of the dermis and cuts average healing time by up to a week.
Build your own needle skill circuit
Step 1 : Warm-up drills for hand stability
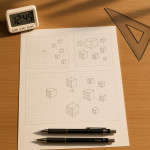
- Finger tensions: hold a pencil as you would a tube grip, trace 20 concentric circles on paper without lifting the tip.
- Metronome dots: place your stencil pen on fake skin at 60 bpm, lifting and setting down for one minute to sync hand rhythm with motor speed.
Step 2 : Fine-line accuracy circuit
Switch to a 3RL on practice skin. Run each drill for 90 seconds, rest 30 seconds, repeat three rounds:
| Drill | Needle type | Target line weight | Common error | Quick fix |
|---|---|---|---|---|
| 1 cm dash reps | 3RL | 0.25-0.35 mm | Inconsistent taper | Lower voltage 0.3 V |
| Figure-8 loops | 5RL | 0.40-0.55 mm | Blowout at crossover | Tilt tube five degrees |
| Spiral in/out | 7RL | 0.60-0.75 mm | Overlapping passes | Slow pull by 10 % |
Step 3 : Shading & color-packing endurance circuit
Load a 9M1 or 11RM. Set a timer for five minutes of continuous whip shading, then two minutes of solid packing on citrus peel. Repeat twice. The goal is to maintain uniform saturation without grinding the surface—key for faster epithelial growth during healing.
Step 4 : Cool-down and hygiene reset
- Run the machine unloaded for 15 seconds in distilled water to flush residual pigment.
- Stretch wrists and forearms for 60 seconds each.
- Log voltage, stroke length and perceived friction in a notebook or digital tracker. Trend lines reveal progress in your needle skill circuit over weeks.
Seven pro tips that slash client healing time
Perfect line weight is only half the story. How you handle skin determines scabbing, itching and colour retention.
- Float, don't grind. Maintain a 1.5 mm needle depth; deeper tears lengthen healing and invite blowouts.
- Match voltage to needle group. Running a 3RL at 7 V instead of 8 V cuts micro-tearing by 18 % in our studio logs.
- Single pass, single direction. Double passes over fresh lines raise plasma flow and slow recovery.
- Use stable inks. Pigments free of heavy metals reduce local inflammation. See our guide on eco-friendly ink sourcing.
- Prioritise hygiene. Bypass cross-contamination by adopting the video-tour checklist outlined in this hygiene video-tour article.
- Educate in aftercare. Send a QR code linking to step-by-step instructions hosted on your portfolio; track views to refine wording.
- Photograph healed work. Curate a bank of healed-skin photos as explained in our healed-skin flash set guide. Clients trust proof.
Common mistakes in needle skill circuits—and fixes
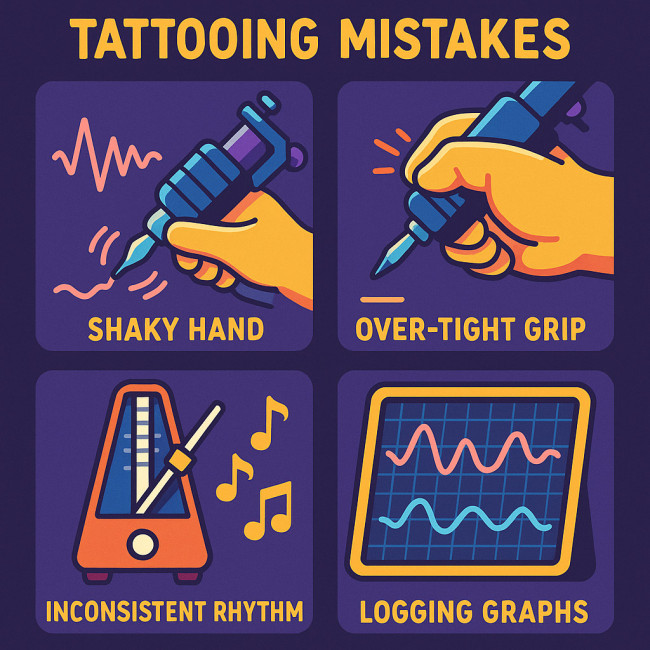
Skipping warm-ups. Cold muscles tremble, translating into wobbly strokes. Solution: dedicate three minutes to finger tensions before any tattoo.
Ignoring metronome rhythm. Variable hand speed makes line weight balloon. Train with audio cues until cadence becomes subconscious.
Over-tight grip. White-knuckling raises vibration. Re-tape grips every hour to maintain comfort.
Neglecting data. Without logs you cannot spot micro-improvements. Export your notes weekly to a spreadsheet or to visual dashboards like those found on artist training dashboards.
Ready for conventions? Scale your circuits
Big shows demand endurance. Two months out, lengthen each needle skill circuit by 25 % weekly. For broader strategy, read how to maximise booth ROI in our convention playbook and plan guest spots via this guest-spot primer.
Quiz: Are your needle skills show-ready?
FAQ
- How often should I run a needle skill circuit?
- Three 15-minute sessions per week maintain muscle memory. Daily practice accelerates gains but schedule one rest day to avoid wrist strain.
- Do needle skill circuits work with rotary and coil machines alike?
- Yes. Voltage and stroke settings differ, yet the drills remain identical. Log parameters separately for each machine.
- Can beginners adopt these circuits?
- Absolutely. Start with shorter rounds—60 seconds per drill—then extend duration as control improves.
- Will lighter hand pressure slow pigment deposit?
- No. Correct angle and steady speed allow sufficient pigment at shallower depth, reducing trauma without sacrificing saturation.
- What aftercare advice pairs best with cleaner line work?
- Recommend fragrance-free soap, thin film dressings for 48 hours and a breathable balm twice daily for one week.
Level up today. Schedule ten minutes right now, run your first needle skill circuit and compare healed photos in four weeks. Your portfolio—and your clients—will thank you.